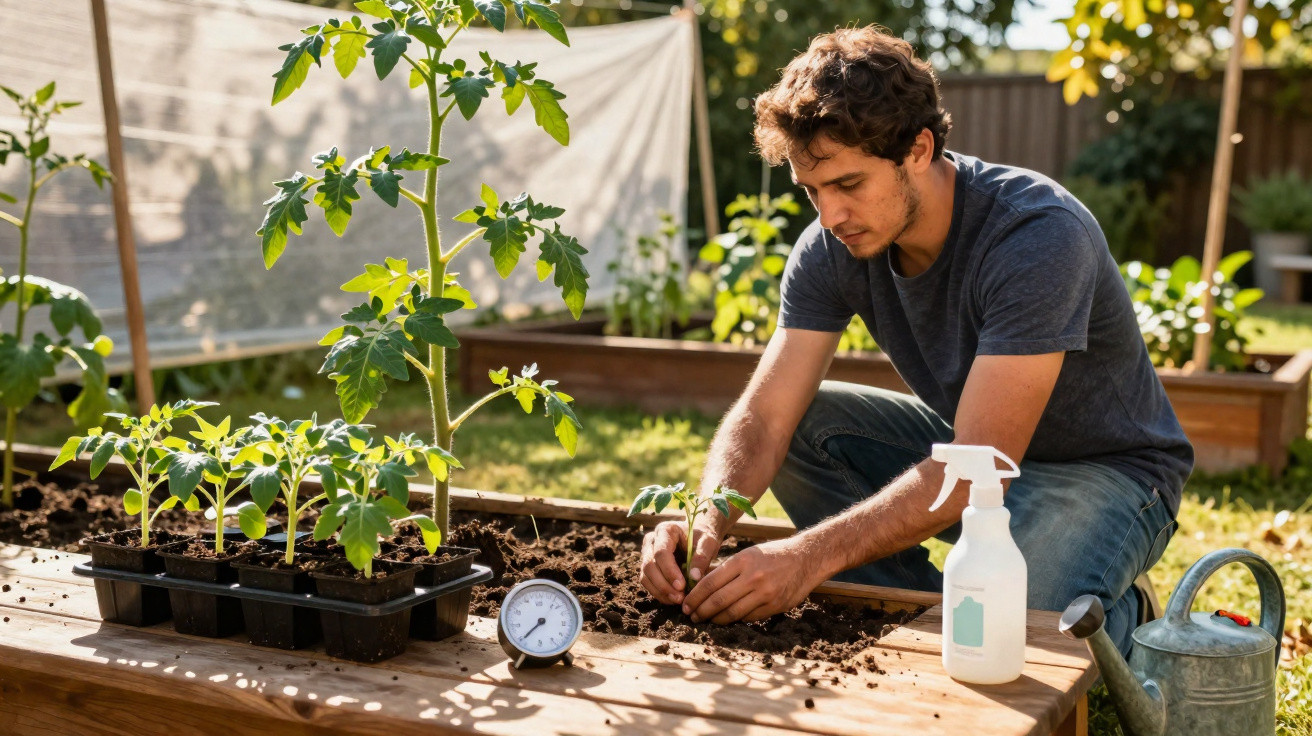
Many hobby gardeners look forward to their tomatoes in spring – only to ruin them within days through one simple, underestimated mistake.
The sun appears, temperatures climb and anticipation of the first home-grown tomato salad builds. Yet the same thing happens in gardens every year: carefully raised young plants are moved far too abruptly from a warm living room straight into the unforgiving outdoors. The result is scorched leaves, stalled growth and a meagre harvest.
Why tomatoes suddenly struggle after being moved outdoors
Anyone raising tomatoes, peppers or aubergines on a windowsill, in a warm conservatory or in a heated greenhouse is providing the plants with near-ideal comfort. Indoors, the temperature stays relatively steady at around 20 degrees, the air is still and sunlight is filtered through glass. The young plants barely have to cope with any stress.
That is precisely what causes trouble later. Their leaves are soft and thin, their protective outer layer is barely developed, and the stomata cannot yet regulate water balance effectively. Their roots are also often still concentrated in the upper part of the growing medium rather than having pushed down deeply.
When plants are then transferred to the bed all at once, several stresses hit them without any protection:
- stronger UV radiation than they received behind glass
- wind, which dries out the leaves
- marked differences between daytime and night-time temperatures
- soil that is often still cool and very damp
The outcome is familiar to almost every gardener: leaves turn pale or whitish, droop limply and the plant seems to have stopped growing. In severe cases, individual stems or entire plants die. While tougher crops such as radishes or carrots cope easily with these changes in weather, heat-loving vegetables including tomatoes and peppers are far more sensitive.
“The tomato’s real enemy in spring is not the date on the calendar, but the temperature shock caused by transplanting.”
The overlooked stage: hardening off tomatoes properly
The key measure that many people simply miss is called hardening off. This means gradually exposing seedlings to the real conditions they will face in the garden. It reduces stress before the plant goes into the bed.
Start once daytime highs are consistently around 15 degrees and no night frosts are forecast. Allow roughly seven to ten days before the planned planting date. A simple nine-day schedule works particularly well for tomatoes.
Nine-day plan for hardening off tomatoes
This is how to fit hardening off into everyday life without turning it into a chore:
- Days 1–3: Put the plants outside for 1 to 2 hours each day, in shade and out of the wind, such as beside a house wall.
- Days 4–6: Leave them outdoors for 4 to 5 hours. Give them gentle morning sun, then move them back into shade at midday and during the afternoon.
- Days 7–9: Keep them for 6 to 8 hours in their eventual position in the garden. On cool nights, continue bringing them indoors or into a sheltered greenhouse.
Watch the plants closely throughout this period. If their leaves droop after the midday sun, they have had slightly too much exposure, so take a step back the following day. Slight pale patches on individual leaves often show that the plant is adapting, provided the damage does not become widespread.
“Anyone who hardens off tomatoes before planting out gives up a little time in the short term – but gains it back through steadier growth and higher yields.”
How to plant hardened-off tomatoes in the bed without stress
Once the hardening-off period is complete, it is time to move the plants into open ground or containers. Here too, small details determine whether a plant gets growing immediately or sulks for weeks.
The right planting process
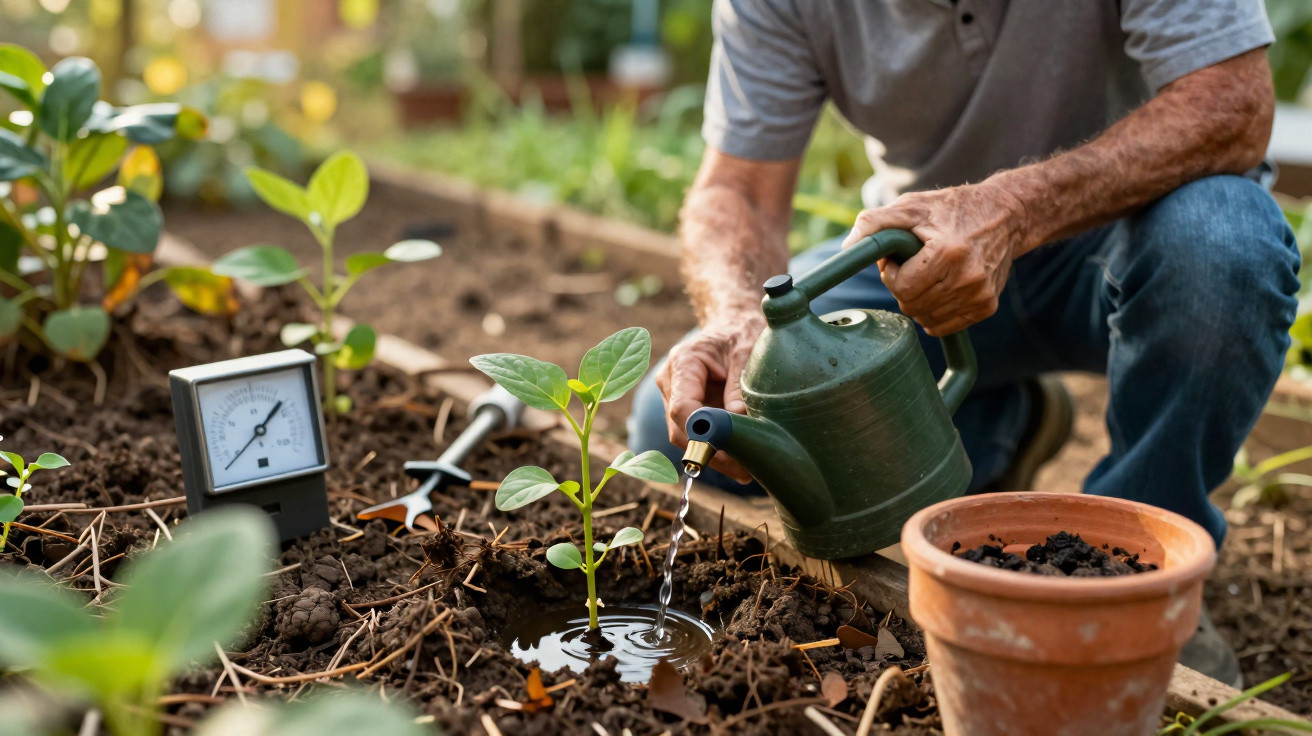
- Soak the root ball: Water the root ball thoroughly before planting, until it is fully saturated. This allows the roots to get to work straight away.
- Prepare the planting hole: Dig a hole around 20 centimetres deep. On heavy soils, loosen it slightly and enrich it with mature compost.
- Plant deeply: Set the tomato so that around 10 centimetres of its stem is beneath the soil. The plant will form additional roots along this buried section, making it more stable.
- Install support immediately: Push in a cane or other support at planting time, so later movement in the wind does not damage the young roots.
- Mulch generously: Cover the soil around the stem with organic material such as straw, dried grass clippings or leaves.
This mulch layer retains moisture in the soil, limits temperature fluctuations and protects the still-delicate roots. It also suppresses some weeds. However, leave a small clear ring directly around the stem, so the plant’s crown does not remain constantly damp.
After planting: protecting tomatoes from wet conditions and fungi
Tomatoes thrive in warmth and light, but do not cope well with permanently wet foliage. Fungal diseases such as blight, powdery mildew or botrytis can take hold quickly, especially when warm days alternate with cool nights. Common mistakes include planting too closely, getting water on the leaves and allowing moisture to build up near ground level.
A clear watering routine is better:
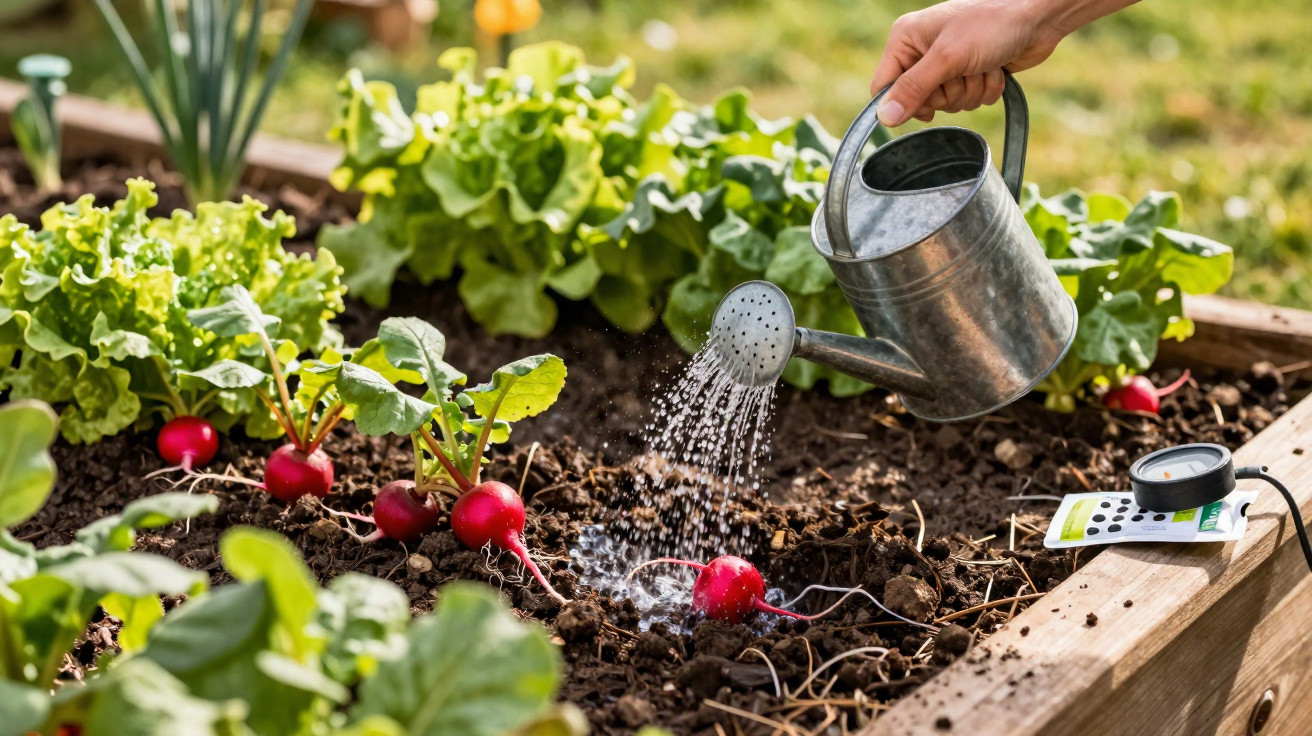
- always water directly onto the soil, rather than over the leaves
- water in the morning or late evening, not in the midday heat
- water less often but thoroughly, encouraging roots to grow deep
- leave sufficient space between plants so air can circulate
Lactose against fungal spores: what milk does for tomato plants
An old gardening tip has made a comeback in recent years: treating plants with milk. Diluted cow’s milk on the foliage can slow fungal diseases and help prevent calcium deficiency, which can contribute to blossom end rot.
In practice, this simple mixture works well:
- 10 to 20 per cent whole milk or semi-skimmed milk
- top up with water to make 1 litre
- spray finely over the leaves every 10 to 15 days, preferably in dry weather
The milk proteins form a protective film on the leaves and can slow the spread of spores. They also provide a small amount of calcium, which the plant needs to build strong cell structures. This treatment is not a substitute for care suited to the growing site, but it can be a useful part of a protection programme.
Common misconceptions about tomatoes in spring
Many tomato problems in spring stem from persistent misunderstandings. Three appear time and again:
- “The earlier they go outside, the better the harvest.” Planting too early risks frost damage, cold soil and halted development. A well-hardened plant put in later often catches up easily.
- “They are in a greenhouse, so they are already hardened off.” A greenhouse still greatly reduces UV radiation and wind. Moving plants into a fully exposed garden position remains a major adjustment.
- “The leaves have turned white, so the plant has a fungus.” Often, the cause is simply sun scorch. The affected leaves look unhealthy, but the plant can recover by producing new foliage.
Practical additions for stronger tomato plants
Those wishing to go a step further can combine hardening off with targeted root development. For example, it can be worthwhile to let young plants dry out quite thoroughly once or twice before planting out, then water them deeply. This encourages the roots to grow further down into the root ball. In the bed itself, gently but regularly loosening the soil around the root area can help, provided the roots have not yet become too densely established.
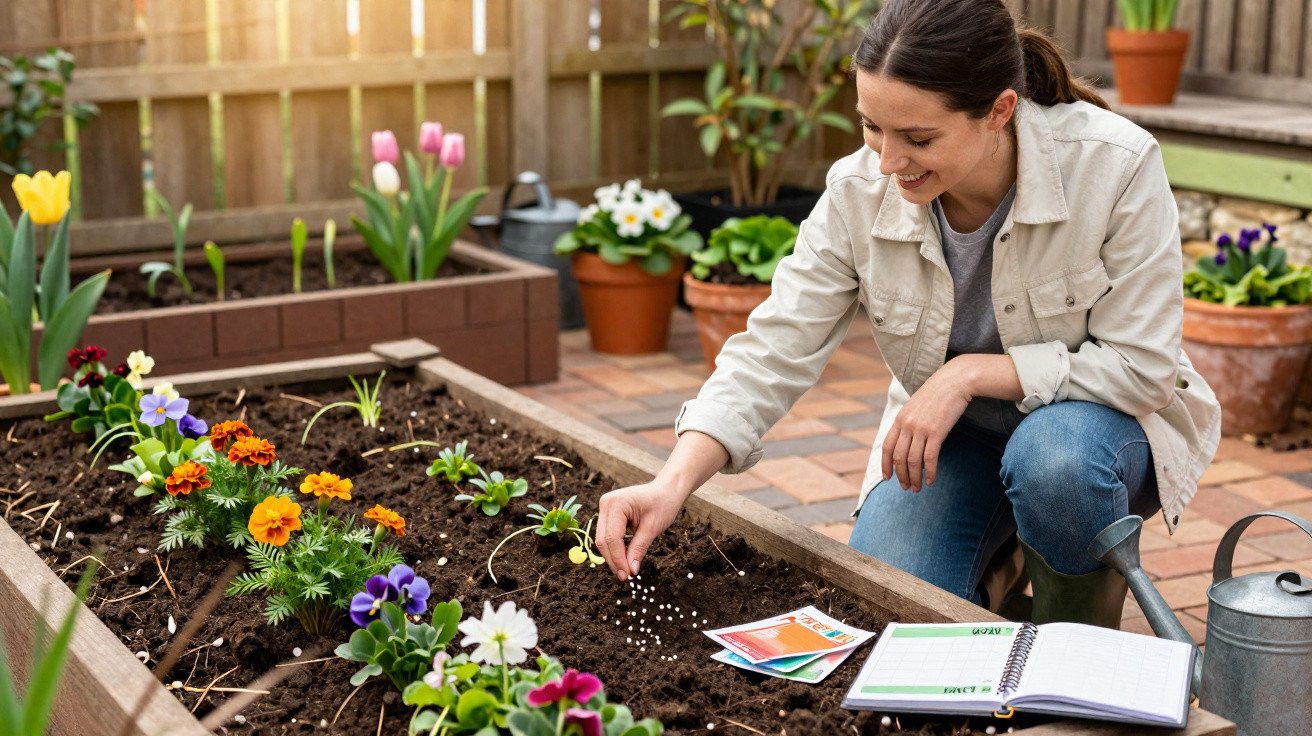
Companion planting is also worth considering. Marigolds, French marigolds or basil grown between tomatoes do more than add visual interest. Many of these plants attract beneficial insects, can reduce soil-borne pests and improve the microclimate. Basil in particular also benefits from hardening off, as it too loves warmth and reacts sensitively to cold shocks.
Anyone who has seen how well hardened-off tomatoes develop after planting will soon view the extra effort as part of the routine. Instead of pale, stressed stems, the bed will contain strong, deep-green plants – and the chances of a long season of home-grown fruit rise considerably.



Comments
No comments yet. Be the first to comment!
Leave a Comment